Self-registration
From the main navigation menu, click Registration. This screen allows you to specify whether or not you'd like your customers to be able to self-register for the customer access portal, as well as the steps you'll need to take in Xero itself to set things up.
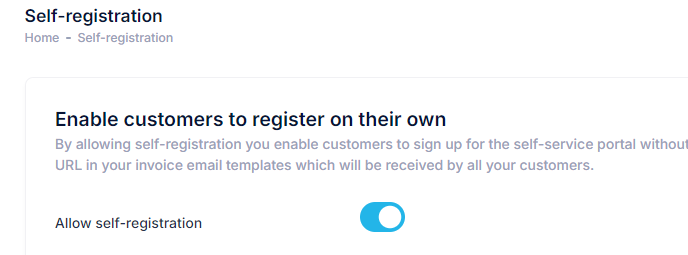
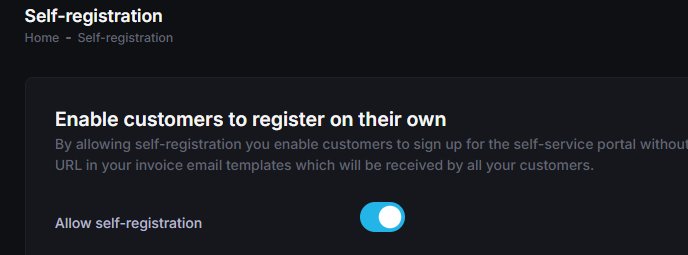
Enabling self-registration
Step One
Set the Allow self-registration field to be enabled and click the Save Changes button.
Step Two
Sign into your Xero account, ideally in a new tab, and with the appropriate company selected in the top-left, click the top-left menu and select Settings.
Step Three
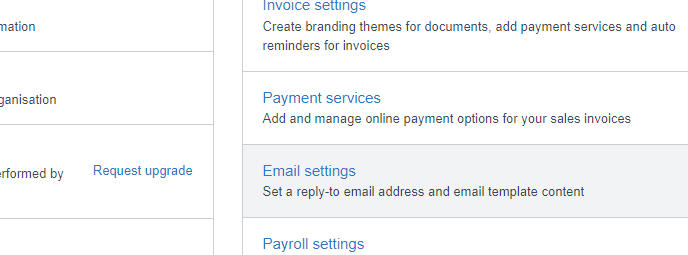
Under the Features heading, click the Email settings option.
Then click on Templates in the menu at the bottom to expand the list, and then click on Sales Invoice to open a modal to edit the email template.
Step Four
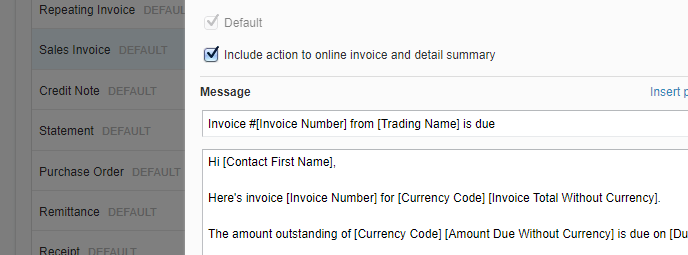
In the Message field, copy and paste the URL from the Registration screen in an appropriate place on your sales invoice email template.
Once you're done, click the Save button to complete the process.
After that's done, any future sales invoices you send, will feature that URL in the email, which allows your customers to initiate the registration process for the portal at their leisure.
INFO
In Xero, if you're resending an invoice to an email address it wasn't previously sent to, you'll want to uncheck Sent on the Invoice Details screen for that particular invoice before you send it again. This way the new email address will appear in the invoice's history which is what See My Bills will use to ascertain its validity.