Access URL
From the main navigation menu, click Access URL.
This screen gives you the ability to specify a URL (the website address) your customers will access the portal from, whereby they have two avenues, Standard or Custom Domain.
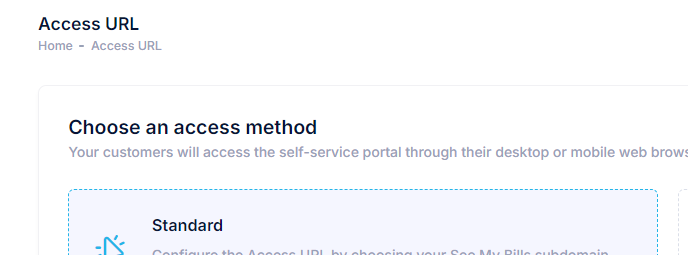
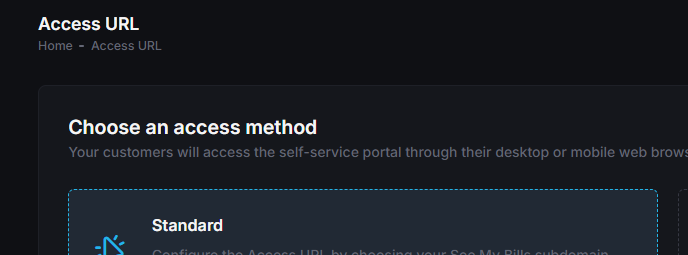
Standard
Selecting Standard as the access method, allows you to specify an Access URL, this will be what's known as a sub-domain of seemybills.net.
For example, if in the Access URL field you entered acmecompanyltd, the address your customers would go to for the self-service portal would be: acmecompanyltd.seemybills.net
Custom Domain
Selecting Custom Domain as the access method, allows you to specify a domain outside of seemybills.net.
Choose domain
Enter your desired domain into the Custom domain field. For example, billing.yourcompany.com, depending on what your company's domain is and what sub-domain you'd like to use.
Once that's done, click Continue to proceed to the next step.
Set up DNS
Before you can utilise your custom domain name, you'll need to access your domain's DNS settings and set up what is known as a CNAME entry.
Think of a CNAME entry as something that tells an internet browser when someone enters your custom domain, it should actually go to a specific place.
The Set up DNS screen will display the CNAME entry you must enter in your DNS settings, in the box with a dotted border.
Once you've added that CNAME entry to your DNS settings, click the Validate & complete button, where See My Bills will then validate your URL to make sure it's hooked up correctly, before completing the setup of your custom domain.